
Uni Fan SL-Inf and Galahad II LCD Setup Instructions
Embarking on the journey to set up your new Uni Fan SL-Inf and Galahad II LCD is an exciting endeavor. Whether you’re a seasoned tech enthusiast or a beginner, this guide will walk you through the process step by step. Let’s dive in and ensure your setup is seamless and efficient.
Unboxing and Inspection

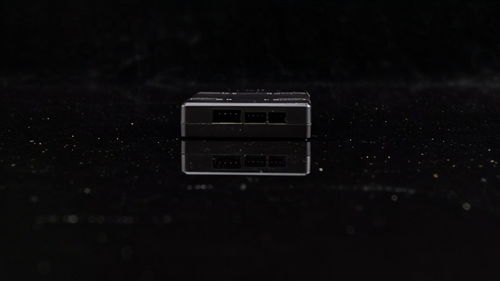
Upon receiving your Uni Fan SL-Inf and Galahad II LCD, carefully unbox the contents. You should find the LCD unit, power supply, mounting brackets, screws, and a user manual. Take a moment to inspect each item for any signs of damage or missing parts.
| Item | Description |
|---|---|
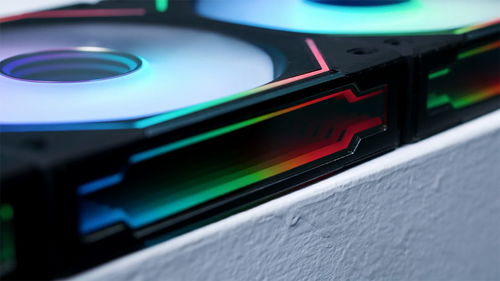
| Uni Fan SL-Inf | High-performance LCD with advanced features |
| Galahad II LCD | Complementary LCD with enhanced capabilities |
| Power Supply | Power adapter for the LCD units |
| Mounting Brackets | Brackets for wall or desk mounting |
| Screws | Hardware for securing the brackets and LCD |
| User Manual | Comprehensive guide for setup and usage |
Ensure that all the items listed above are present. If anything is missing or damaged, contact the manufacturer or retailer immediately.
Power Supply Connection
Connect the power supply to the Uni Fan SL-Inf and Galahad II LCD units. The power supply typically has a standard plug that fits into the LCD’s power port. Make sure the power supply is securely connected to a power outlet that provides a stable voltage.
Mounting the LCD
Choose a suitable location for your LCD. It can be mounted on a wall or a desk. If you’re using the mounting brackets, follow these steps:
- Attach the mounting brackets to the back of the LCD using the provided screws.
- Secure the brackets to the wall or desk using the appropriate screws and wall anchors.
- Position the LCD on the mounting brackets, ensuring it is level and securely fastened.
For desk mounting, place the LCD on the desk and secure it using the provided brackets and screws. Adjust the angle and position of the LCD to your preference.
Connecting to a Computer
Connect the Uni Fan SL-Inf and Galahad II LCD to your computer using the appropriate cables. The LCDs typically come with a HDMI or DisplayPort cable. Follow these steps:
- Locate the HDMI or DisplayPort port on the back of the LCD.
- Connect one end of the cable to the LCD and the other end to your computer’s corresponding port.
- Power on the LCD and your computer.
On your computer, go to the display settings and select the newly connected LCD as the primary or secondary display. Adjust the resolution and settings to your preference.
Software and Drivers
Install any necessary software or drivers for the Uni Fan SL-Inf and Galahad II LCD. The user manual should provide instructions on how to download and install the software. This software may offer additional features and customization options for your LCD.
Final Checks
After completing the setup, perform the following final checks:
- Ensure the LCD is powered on and displaying the correct image.
- Check the resolution and settings to ensure they are configured to your preference.
- Verify that the LCD is securely mounted and stable.
If everything is functioning correctly, you have successfully set up your Uni Fan SL-Inf and Galahad II LCD. Enjoy your enhanced visual experience!
Conclusion
Setting up your Uni Fan SL-Inf and Galahad II LCD is a straightforward process that can be completed in a few simple steps. By following this guide, you can ensure