
Uni Fan SL120 V2 Install: A Comprehensive Guide
Are you looking to install the Uni Fan SL120 V2 in your system? If so, you’ve come to the right place. This guide will walk you through the entire process, from unpacking the components to ensuring everything is working smoothly. Let’s dive in!
Unboxing the Uni Fan SL120 V2

When you receive your Uni Fan SL120 V2, you’ll find it well-packed in a sturdy box. Inside, you should find the following items:
| Item | Description |
|---|---|
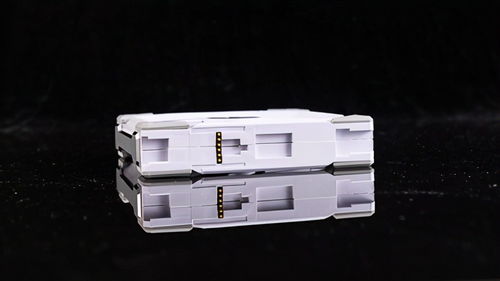
| Uni Fan SL120 V2 | The fan itself, featuring a sleek design and advanced cooling technology. |
| Mounting Bracket | Used to attach the fan to your system’s case. |
| Mounting Screws | Required to secure the fan to the mounting bracket. |
| User Manual | Contains installation instructions and specifications. |
Take your time to inspect each item for any signs of damage. If everything looks good, you can proceed with the installation.
Preparation
Before you start installing the Uni Fan SL120 V2, make sure you have the following tools and materials on hand:
- Philips screwdriver
- Flat-head screwdriver
- Anti-static wrist strap
- Computer case with available mounting points
It’s also a good idea to ground yourself to prevent static electricity from damaging your components. You can do this by touching a grounded metal surface or wearing an anti-static wrist strap.
Installation Process

Now that you have everything ready, let’s get to the installation process:
-
Remove the front panel of your computer case. This will give you access to the mounting points where you’ll attach the Uni Fan SL120 V2.
-
Locate the mounting points on the front panel. These are usually pre-drilled holes designed for fans.
-
Attach the mounting bracket to the fan. This is done by sliding the bracket onto the fan’s mounting holes and securing it with the included screws.
-
Position the fan in the desired location on the front panel. Make sure it is aligned with the mounting points.
-
Secure the fan to the mounting bracket using the provided screws. Tighten them firmly but be careful not to over-tighten, as this can damage the bracket or the fan.
-
Connect the fan’s power cable to the appropriate power source. This could be a 3-pin or 4-pin header on your motherboard, or a dedicated fan controller.
-
Reattach the front panel of your computer case.
Testing and Adjustments
Once the installation is complete, power on your computer and check if the Uni Fan SL120 V2 is spinning. If it’s not, double-check the power connections and ensure the fan is properly mounted.
Adjust the fan’s speed and direction if necessary. Most fans come with a built-in switch that allows you to control the speed. If you’re using a fan controller, follow the manufacturer’s instructions to set the desired speed.
Conclusion
Installing the Uni Fan SL120 V2 is a straightforward process that can help improve the cooling performance of your computer. By following this guide, you should have no trouble getting your new fan up and running in no time.
Remember to keep an eye on your system’s temperatures and adjust the fan settings as needed to maintain optimal performance. Happy installing!