
Uni Solar Installation Manual: A Comprehensive Guide
Welcome to your ultimate guide on installing Uni Solar panels. Whether you’re a DIY enthusiast or a professional installer, this manual is designed to provide you with all the necessary information to ensure a successful solar installation. Let’s dive into the details.
Understanding Uni Solar Panels

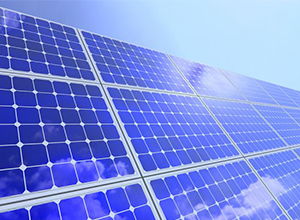
Uni Solar panels are known for their high efficiency and durability. Before you begin the installation process, it’s crucial to understand the key features of these panels.
| Feature | Description |
|---|---|
| Efficiency | Uni Solar panels have an efficiency rate of up to 22%, which is higher than many other solar panels on the market. |
| Durability | These panels are designed to withstand harsh weather conditions and have a lifespan of up to 25 years. |
| Warranty | Uni Solar offers a 10-year product warranty and a 25-year power output warranty. |
Understanding these features will help you make informed decisions throughout the installation process.
Preparation for Installation
Before you start installing your Uni Solar panels, it’s essential to prepare adequately. Here’s a step-by-step guide to help you get started.
-
Choose the Right Location
-
Check Local Regulations
-
Assemble the Tools and Materials
-
Plan the Layout
Find a location on your property that receives maximum sunlight throughout the day. Avoid shading from trees, buildings, or other obstacles.
Before installing solar panels, ensure that you comply with local building codes and regulations. This may involve obtaining permits or consulting with local authorities.
Collect all the necessary tools and materials for the installation, including solar panels, mounting brackets, wiring, and connectors.
Sketch a layout of your solar panel system, including the placement of panels, inverters, and other components.
Installation Process
Now that you’re prepared, let’s go through the installation process step by step.
-
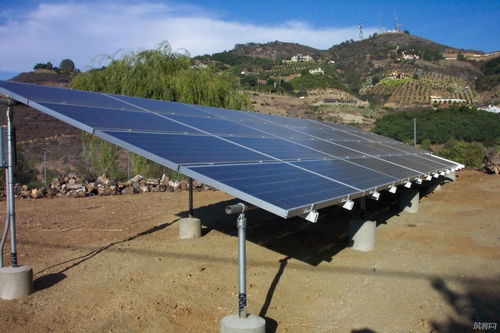
Mounting the Panels
-
Connecting the Panels
-
Wiring the System
-
Connecting to the Electrical Panel
-
Testing the System
Attach the mounting brackets to the roof or ground mount. Secure the brackets firmly and ensure they are level.
Connect the solar panels to the inverter using MC4 connectors. Ensure that the connections are secure and follow the manufacturer’s instructions.
Run the wiring from the inverter to the electrical panel. Use appropriate wiring and follow local electrical codes.
Connect the inverter to the electrical panel using a dedicated circuit. This will allow the system to feed excess power back into the grid or store it in a battery.
Once the installation is complete, test the system to ensure it’s functioning properly. Check for any loose connections or issues with the inverter.
Post-Installation Maintenance
Maintaining your Uni Solar panel system is crucial to ensure optimal performance and longevity.
-
Clean the Panels Regularly
-
Check the Wiring and Connections
-
Monitor the System’s Performance
Keep the solar panels clean by wiping them down with a soft cloth and water. Avoid using harsh chemicals or abrasive materials.
Regularly inspect the wiring and connections to ensure they remain secure and free of corrosion.
Use a monitoring system to track the performance of your solar panels and identify any issues early on.
By following these maintenance tips, you can ensure that your Uni Solar panel system continues to provide clean, renewable energy for years to come.
Conclusion
Installing Uni Solar panels can be a rewarding experience, but it’s